5 Advantages of Registering Your Business as a Freelancer

Freelancing has a lot of personal benefits such as having flexibility on your work and your time in doing it, having control over your workspace, higher income and more personal quality time, but more can be gained when you register your business as a freelancer.

Here are some of the advantages that you can gain when you are recognized as a tax-paying freelancer once you register your business:

1. Assistance

Registering your business entitles you to financial and legal assistance by government agencies when you encounter difficulties and issues.

For instance, you’ll certainly need your BIR Certificate of Registration and tax identification number if you want to open a corporate bank account for your business. Going through the process of registering may be an added task but this will keep your business more secure

2. Protection

You’ll want to choose a business name that reflects your brand identity and doesn’t clash with the types of goods and services you offer.

Once you’ve chosen one, it would be better to have it registered and get a trademark, so your business name won’t be imitated by other business entities even at a national level.

3. Credibility

You appear more professional to your clients when you have registered your businesses and provide them with your business name.

In this way, clients may feel more confident to close a deal with you since they will feel that they are obtaining goods or services from a legitimate business.

4. Funding

Your income tax return (ITR) as a registered business serves as you proof of earning.

If you intend to take out a bank loan or if you want to file applications for other types of financing, your ITR and other official papers as a registered business are just some of requirements that banks and lending companies will ask from you so your application will be approved.

5. Receipt issuance

Most clients here and abroad require official receipts as proof of their expense and payment to your business.

Customers are likely to see your business as a more reputable and trustworthy enterprise if it is registered with government agencies like the BIR. They are likely only going to be willing to enter transactions that involve huge sums of money if you can offer official receipts, which, in turn, you can only acquire if you’re already registered your business.

Once you’ve registered your business, you would also need to pay for your monthly government payments. But you don’t have to worry since you can easily pay for these via Maya!

How to Settle your Government Fees for your Pag-IBIG contributions

  1. Log in to the Pag-IBIG Fund website (pagibigfund.gov.ph) and select “E-Services”
  2. Select “Online Payment Facility” under “OTHER SERVICES” and provide the following payment details:
    • Program Type (i.e, MS, MP2, Housing Loan, STL)
    • Membership Category (i.e., local or overseas)
    • Pag-IBIG ID Number
    • Member/Borrower’s Name
    • Period Covered To/From
    • Period Covered Duration
    • Amount
    • Mobile Phone Number
    • Email Address
  3. Enter the CAPTCHA and agree on terms and conditions by selecting the check box on the lower portion of the screen page.
  4. Select “PROCEED” to confirm the payment details
    • Select “Maya” and enter your Maya-registered mobile number and PIN
    • Select “OK” to proceed
  5. Upon successful transaction, you shall receive an email notification reflecting the Transaction Reference Number (TRN) which shall serve as your proof of payment in lieu of the Pag-IBIG Fund Official Receipt (PFOR).

How to settle your SSS payments

  1. Log in to the SSS Mobile App using your existing My.SSS account User ID and password. You can also generate your Payment Reference Number or Statement of Account by clicking the “General PRN/SOA icon”.
  2. You can choose your membership type, applicable period and amount of your contribution.
  3. Once you have provided all details, click “Submit”. On the screen, a pop-up window containing all the details of your transaction will appear. Check all the information to ensure that everything is correct before clicking “OK.” Wait for confirmation on the screen that your PRN has been generated.
  4. After generating the PRN, click “Pay”
  5. Select “Pay with Maya” as your payment option
  6. Log in your Maya account details
  7. Enter the One-Time Password that you will receive via SMS then click “Proceed”
  8. Verify your payment details then click “OK”
  9. Once the payment has been processed, a confirmation that your transaction is complete will appear on the screen. Payments using your PRN will be posted immediately.

How to file your Annual Income Tax Return via JuanTax

  1. Set up your taxpayer account.
  2. Choose and fill out the necessary forms
  3. Choose Maya as your payment option
  4. Log in using your Maya registered mobile number and password
  5. Input the One-Time Password you will receive via SMS
  6. Confirm your payment

How to file your Annual Income Tax Return via Taxumo

  1. Go to your company profile on Taxumo
  2. Check on the forms that you need to file and choose the 1701/1701A/1701Q form and click on the save changes button
  3. Go to your tax dues and click on the FILE NOW button
  4. Input the necessary details
  5. After confirming your details, click next and you will a preview of your BIR Form 1701 filing.
  6. Once you verify the details presented, click on “PROCEED TO CHECKOUT”
  7. Choose Maya as your preferred payment method
  8. Input your Maya MIN and password
  9. Input the One-Time Password you will receive via SMS
  10. Confirm your payment

You might also like

These Stories on How-To

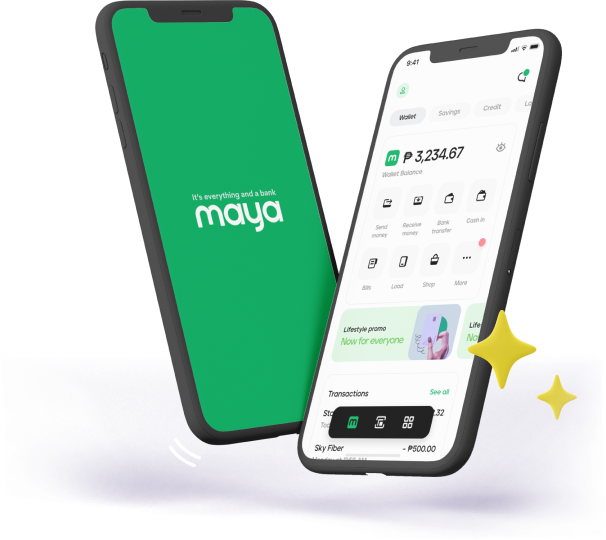
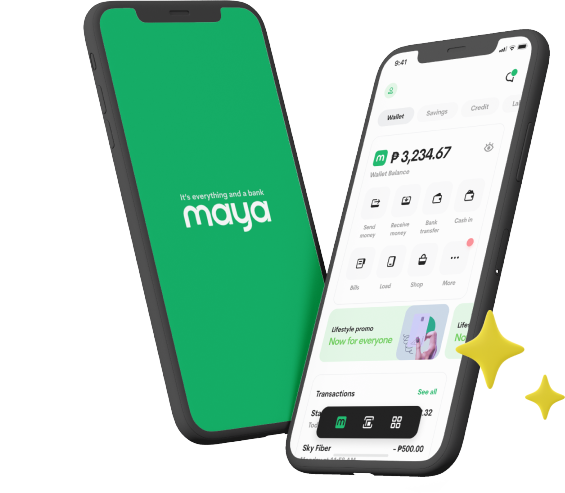
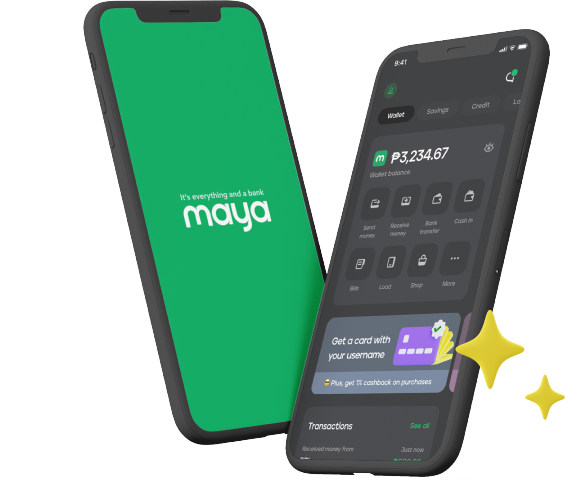
It’s everything and a bank. What more could you need?

For existing PayMaya users, update your app to Maya

Maya App Light Mode Maya App Dark Mode